
Tame the Peaks, Unleash the Punch: Your Ultimate Guide to Soft Clippers (and Beyond)
This blog post will delve deep into both soft and standard clipping, explaining what they are, how to use them effectively, and how they contribute to a clear and impactful sound. We'll also explore how specific plugins, including the versatile **StandardCLIP by SIR Audio Tools**, can elevate your production game.
**What Exactly IS a Soft Clipper (and How Does it Differ from Standard Clipping)?**
Imagine two different ways to handle an overflowing glass of water (your audio signal).
* **Soft Clipper:** This is like gently tilting the glass as it approaches the brim, allowing a little bit of water to spill over gradually. In audio terms, when the signal approaches a certain threshold, a soft clipper gently rounds off the peaks. This subtle form of gain reduction introduces a pleasant saturation and harmonic distortion, effectively taming transients and increasing perceived loudness without harshness.
* **Standard Clipper:** This is like just letting the glass overflow abruptly. When the audio signal hits the set threshold, a standard clipper simply chops off anything exceeding it. This creates a sharper, often more aggressive form of distortion and can introduce digital artifacts if not used carefully. While potentially harsher, it can also be a valuable creative tool for adding grit and punch.
**Why Use a Clipper (Soft or Standard)?**
Both soft and standard clippers offer distinct advantages for audio engineers and producers:
* **Increased Perceived Loudness:** By controlling peaks, you can push the overall level of your audio without the extreme artifacts of traditional hard limiting. This is essential for achieving competitive loudness in modern music.
* **Transient Shaping:** Clippers can subtly (soft) or dramatically (standard) shape transients, making drums and percussive elements sound punchier, controlled, or even aggressively distorted.
* **Saturation and Warmth (Soft Clipping):** The harmonic distortion introduced by soft clipping can add a touch of analog warmth and character.
* **Aggressive Distortion (Standard Clipping):** Standard clipping can be used intentionally for creative effect, adding harshness and grit.
* **Preventing Harsh Digital Clipping:** Strategically using a clipper *before* a limiter can prevent the limiter from working too hard and introducing unpleasant digital clipping.
* **Maintaining Dynamic Range (Soft Clipping):** Softer clipping can be less aggressive than heavy compression, helping preserve more of the original dynamic range.
**Step-by-Step Guide to Using a Clipper:**
Here's a general step-by-step guide. Remember that each plugin might have slightly different controls.
1. **Insert the Clipper Plugin:** Add the clipper as an insert effect on the desired track or bus.
2. **Set the Input/Drive Level:** Most clippers have an input or drive control. Start by slowly increasing this control. You'll begin to hear the effect of the clipping as the signal approaches the threshold.
3. **Monitor the Gain Reduction/Clipping:** Many clippers have a gain reduction or clipping meter showing how much the signal is being affected. For soft clipping, aim for subtle reduction (a few dB). For standard clipping, the meter will indicate how much of the signal is being clipped.
4. **Adjust the Threshold (If Available):** Some clippers offer a threshold control, allowing you to fine-tune the point at which clipping begins.
5. **Select Clipping Mode (If Available):** Some plugins, like StandardCLIP, offer various clipping modes, allowing you to choose between softer and harder clipping characteristics.
6. **Oversampling (Important for Standard Clipping):** For standard clipping, enabling oversampling can significantly reduce aliasing artifacts, resulting in a cleaner sound even with aggressive clipping.
7. **Listen Carefully:** This is paramount! Listen critically to how the clipper is affecting your audio. Pay attention to the transients, the overall loudness, and any added saturation or distortion.
8. **A/B Compare:** Regularly switch the clipper on and off to hear the difference it's making. This prevents over-processing.
9. **Consider Lookahead (If Available):** Some clippers have a lookahead feature for smoother transient processing. Use cautiously as it introduces latency.
10. **Gain Stage Appropriately:** Ensure your signal isn't too hot going into the clipper. Adjust previous levels if needed.
**Clipper VST Examples (with Working Backlinks):**
Here are a few popular clipper VST plugins:
Here are a few popular clipper VST plugins:
-
TDR Kotelnikov GE: This free mastering compressor includes a fantastic soft clipping stage. https://www.tokyodawn.net/tdr-kotelnikov/
-
FabFilter Pro-L 2: A powerful mastering limiter with excellent soft clipping options among its limiting styles. https://www.fabfilter.com/products/pro-l-2-limiter-plug-in
-
KClip 3 by Kazrog: A dedicated clipper plugin with various clipping modes, including soft and hard clipping, and precise control. https://kazrog.com/products/kclip/
-
Clipper by LVC-Audio: Another excellent dedicated clipper with a wide range of customization options. https://lvcaudio.com/plugins/clipper/
-
StandardCLIP by SIR Audio Tools: A versatile clipper offering various clipping modes (from soft to hard), oversampling, and a detailed waveform display. https://www.siraudiotools.com/StandardCLIP.php
-
Waveshaper CM (often bundled with Computer Music Magazine): Can be used for subtle soft clipping. Check for bundle availability.
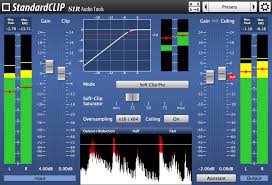
**Spotlight on StandardCLIP by SIR Audio Tools:**
StandardCLIP is a powerful and precise clipper plugin that deserves special mention. Its key features include:
* **Multiple Clipping Modes:** Allows you to choose from various clipping curves, ranging from smooth soft clipping to aggressive hard clipping. This flexibility makes it suitable for various applications.
* **Adjustable Ceiling:** Precise control over the clipping threshold.
* **Oversampling:** Crucial for reducing aliasing artifacts, especially when using harder clipping modes. StandardCLIP offers different oversampling options.
* **Waveform Display:** A visual representation of the audio signal and the clipping being applied, allowing for precise adjustments.
* **Stereo Linking Options:** Control how the clipping is applied to the left and right channels.
**Using Clippers on Different Elements:**
Let's explore how to effectively use clippers on various elements:
**On the Bus Mix:**
* **Goal (Soft Clipping):** To subtly glue the mix, add warmth, and control dynamics before mastering.
* **Goal (Standard Clipping - Use with Caution):** To add a touch of aggressive energy and character. This is more experimental and requires careful listening.
* **Approach (Soft Clipping):** Insert a *soft* clipper as the last plugin on your master bus (before your limiter). Start with a very low input/drive, aiming for minimal gain reduction (1-2 dB). The effect should be subtle, enhancing cohesion and control.
* **Approach (Standard Clipping):** Use sparingly and with intention. Try subtle amounts to shave off the very highest peaks. Engage oversampling. Listen for unwanted artifacts.
**On Vocals:**
* **Goal (Soft Clipping):** To add subtle warmth, smooth out harsh peaks, and increase perceived loudness without sounding squashed.
* **Goal (Standard Clipping - Creative Effect):** To introduce intentional distortion and grit for stylistic purposes.
* **Approach (Soft Clipping):** Insert a soft clipper after your vocal compressor. Increase input until the vocal becomes slightly thicker and more present. Avoid overdoing it.
* **Approach (Standard Clipping):** Use as a distinct effect. Experiment with different clipping modes and amounts. Often works well on parallel processing.
**On Drums and Kicks:**
* **Goal (Drums - Soft/Standard):** To tame cymbal crashes, add aggression to snares, and make the drum bus powerful.
* **Goal (Kicks - Soft/Standard):** To add sustain, weight, and impact to the low-end.
* **Approach (Drums - Soft):** On the drum bus, use a soft clipper with moderate input. Focus on transient control.
* **Approach (Drums - Standard):** For a more aggressive sound, try standard clipping. Use oversampling. Be mindful of harshness.
* **Approach (Kicks - Soft):** Subtle soft clipping can round off the initial transient, adding sustain and perceived low-end loudness.
* **Approach (Kicks - Standard):** Can create a very punchy, distorted kick. Experiment with different clipping modes and drive levels.
**Achieving Clear Sounds from Bus to the Master Channel with Clipping:**
Both soft and standard clipping, when used judiciously, contribute to a clearer and more impactful final product:
* **Early Peak Control:** Addressing peaks early in the mix prevents them from accumulating and causing issues later in the mastering chain.
* **Preparing for the Limiter:** A well-clipped mix presents a smoother signal to the mastering limiter, allowing it to work more transparently and achieve higher loudness without as much distortion.
* **Adding Subtle Harmonics (Soft Clipping):** Contributes to a richer and more engaging sonic experience.
* **Creative Distortion (Standard Clipping):** Can add character and aggression where intended.
* **Preventing Digital Clipping:** Clippers act as a safety net before the final limiter.
**Important Considerations:**
* **Less is Often More:** Subtlety is key with soft clipping. Standard clipping requires even more careful attention.
* **Listen in Context:** Always evaluate the effect within the entire mix.
* **Experiment:** Different plugins have unique sonic characteristics.
* **Gain Staging is Crucial:** Avoid pushing the clipper too hard.
* **Oversampling for Standard Clipping:** Essential for reducing aliasing.
* **Don't Rely on it Solely:** Combine with other mixing techniques.
**Conclusion:**
Clipping, in its soft and standard forms, is a powerful tool for modern audio production. Understanding the nuances of each, and how plugins like **StandardCLIP by SIR Audio Tools** offer precise control, can significantly elevate your mixes. By mastering the art of peak control and harmonic manipulation, you can achieve louder, punchier, and ultimately clearer sounds, pushing your creative boundaries and achieving professional results.
`soft clipper`, `audio clipping`, `music production 2025`, `mastering techniques 2025`, `StandardCLIP tutorial`, `vocal clipping 2025`, `drum clipping techniques`, `bus processing 2025`, `achieving loud mixes`, `clear audio mixing`, `audio plugins 2025`, `SIR Audio Tools`, `clipping for beginners`, `advanced mixing techniques`, `peak control in audio`, `harmonic distortion`, `music production tips 2025`
Achieve Crystal Clear Vocals: Your Guide to the Best Waves Plugins
Crank Up the Crisp: UAD 76 Secrets for Trap Drums That Slap Like Mike Dea
Related Posts
Get Beat Feedback & Production Tips on My Twitch Live
Why Analog Synth Sounds Are Making a Comeback

Top Loop Kits and Construction Kits for Music Producers 2025
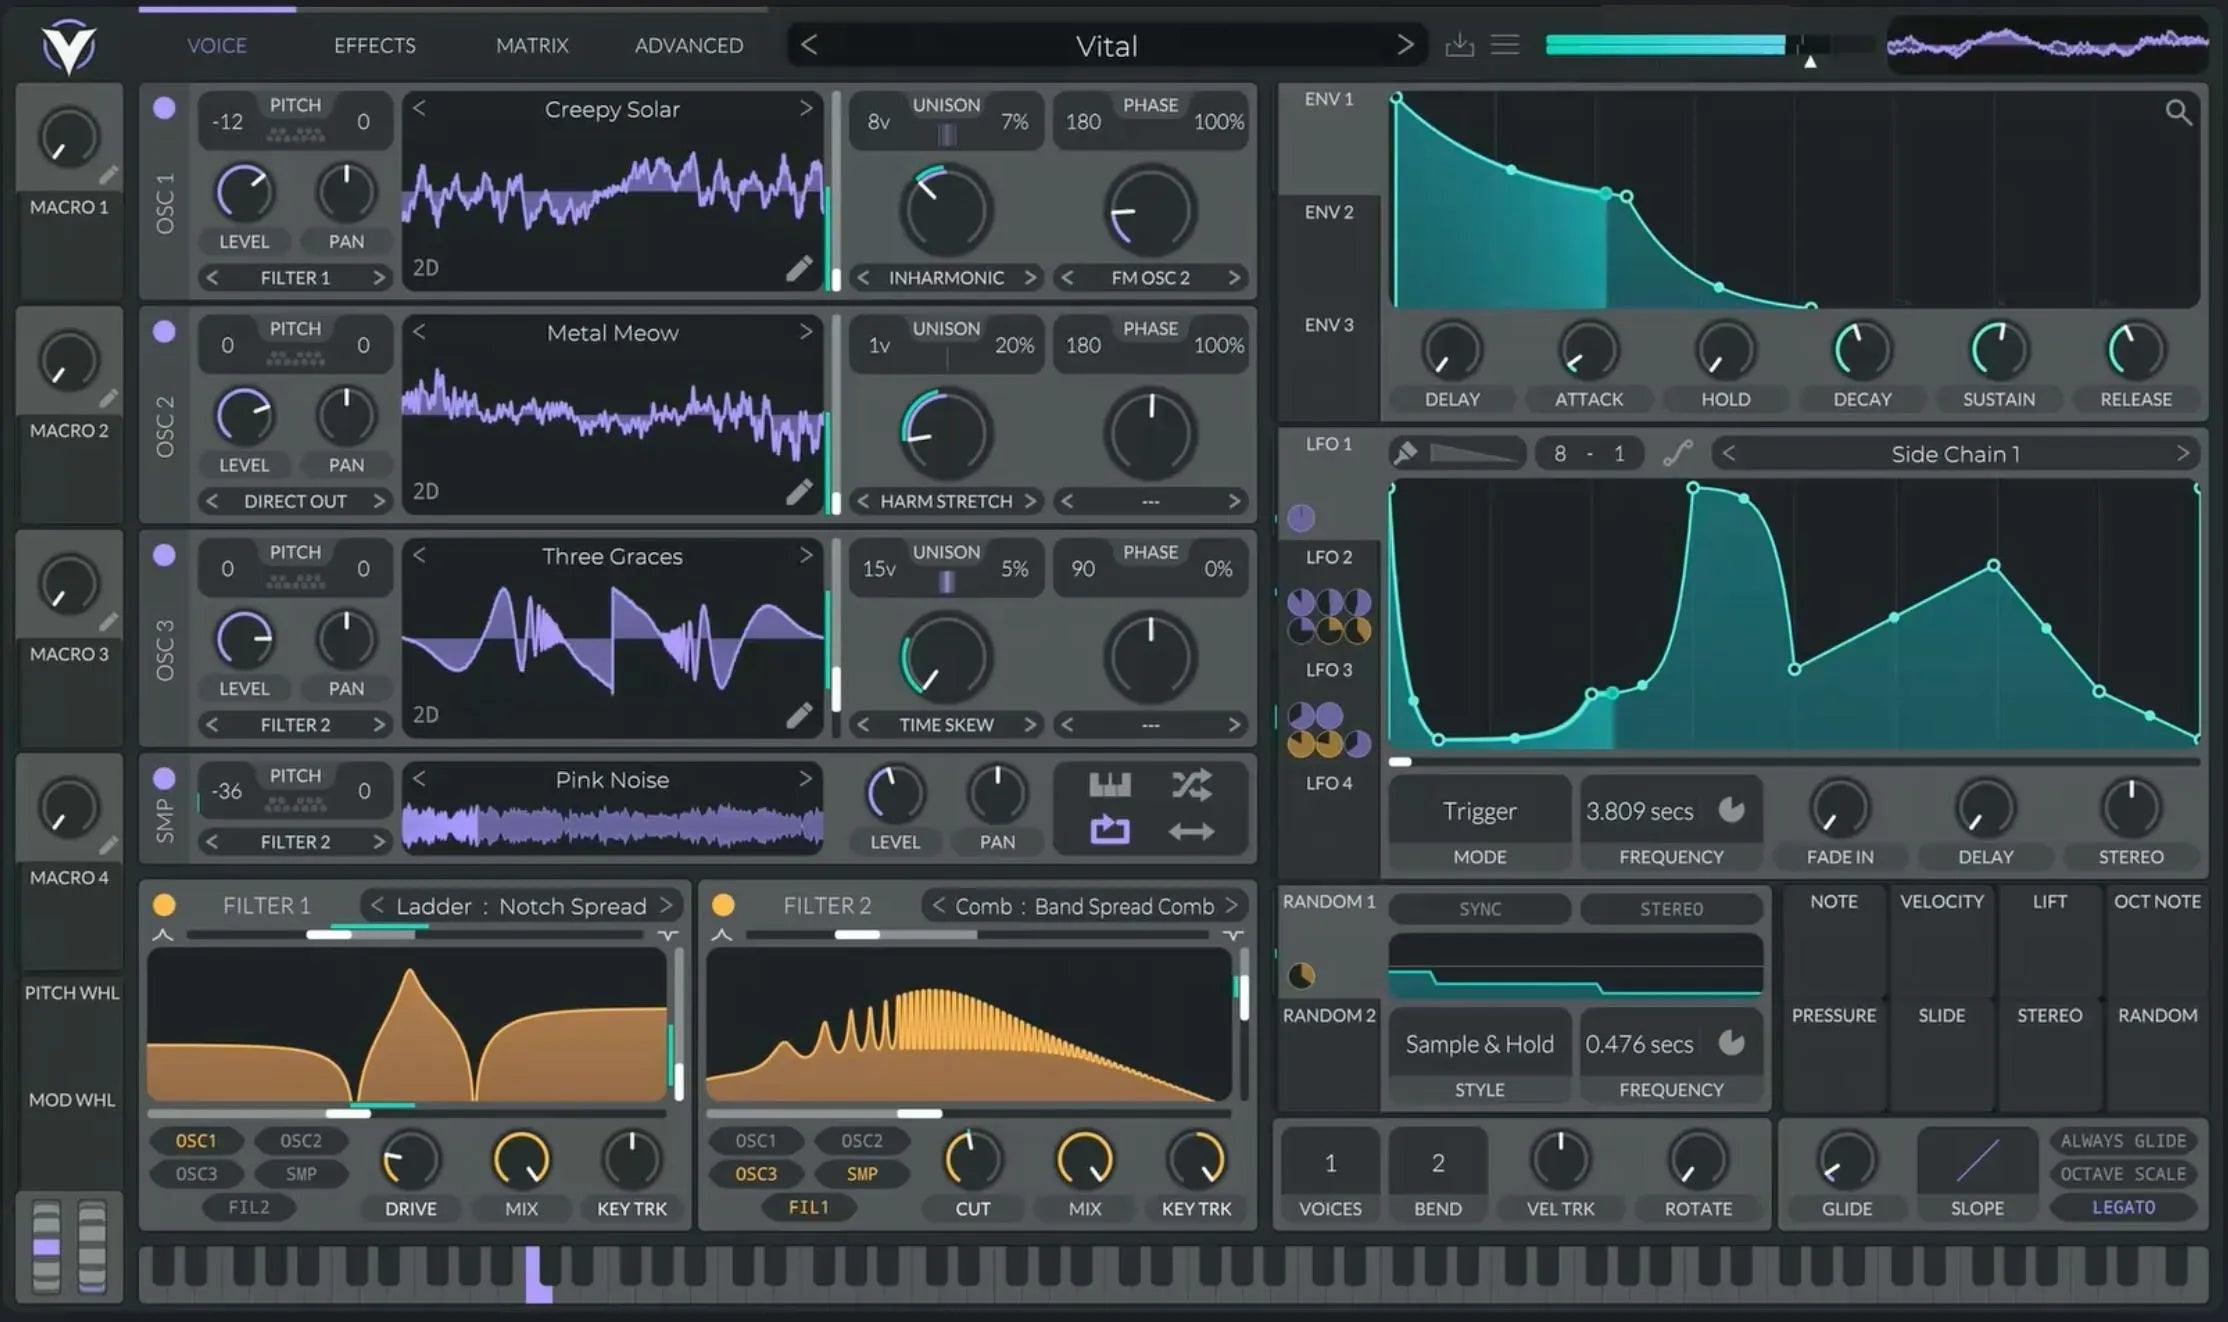
Best VST Plugins for 2025: Top Picks for Trap, Pop, and Sound Design

Top 5 UAD Plugins for Mixing

Using the 1176 on Vocals: A Guide to Perfect Compression

African Dreamscape - Afro Beats - Amapiano : A Producer’s Guide